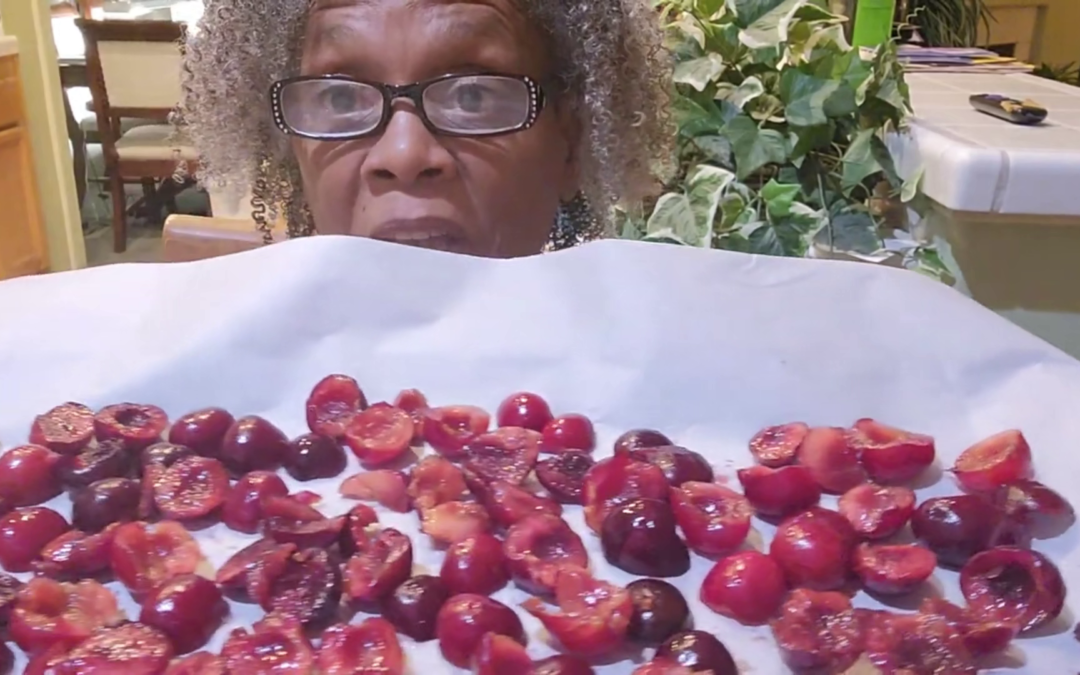
Hey there! I’m excited to share a demo with you today, especially since it’s cherry season! So, my son brought home a bunch of cherries, and I thought, “Hey, let’s switch things up and focus on cherries this month!” Cool, right? So, let me show you how to store, freeze, and dry these yummy fruits.
Choosing Your Cherries
Cherries often have pesticide residues on them (they’re on the Dirty Dozen list), which can be harmful. Cherries are often heavily sprayed with pesticides, and the Environmental Working Group (EWG) has found that 90% of cherries still contain pesticide residues on them. On the other hand, organic cherries are grown without these chemicals, making them a healthier choice. However, if you can’t find organic ones or if the budget doesn’t allow, don’t worry! Any cherries are better than none at all!
Freezing the Cherries
Step 1: Preparing the Cherries
The first step is to thoroughly wash and inspect the cherries. I like to soak them in cool water, then carefully sort through them, removing any that are damaged, overripe, or starting to spoil. These can contaminate the rest, so it’s important to be diligent. Once washed and sorted, I gently pat the cherries dry with a clean towel.
Step 2: Pitting the Cherries
Next, it’s time to remove the pits. I’ve found that the old-fashioned method of slicing the cherries in half and using a spoon to scoop out the pits works best for me. While there are handy cherry pitters available, I find that the manual approach allows me to inspect each cherry more closely.
As I’m pitting the cherries, I like to reminisce about my mom’s love for this seasonal fruit. She would buy crates of cherries every year, racing to eat them before the rest of us could. The doctor once remarked on how sharp she was, even in her later years, and I can’t help but wonder if her cherry-loving ways played a role in preserving her brain health.
Step 3: Freezing the Cherries
With the cherries pitted, it’s time to get them in the freezer. I like to spread them out in a single layer on a parchment-lined baking sheet, making sure they don’t touch each other. This prevents them from freezing into one big clump, which would make it difficult to remove just the amount I need later on.
After a few hours, or overnight, the cherries will be fully frozen. I then transfer them to a freezer-safe bag, removing as much air as possible before sealing. I like to label the bag with the date six months from now, so I know when to use them by.
Drying the Cherries
In addition to freezing, I also like to dry some of my cherries to create delicious, chewy snacks. The process is fairly simple, though it does take some time.
I start by doing the same process as when freezing them. I manually pit the cherries, which involves engaging in hand dexterity exercises. After taking the pit, preheat the oven to 140°F. But I preheated my oven to the lowest temperature setting, which in my case is 170°F. Then, I spread the pitted cherries out in a single layer on a parchment-lined baking sheet and slow dry in the oven. It’s important to avoid overlapping the cherries, as this can lead to uneven drying.
The cherries will need to dry for 6 to 12 hours, depending on your oven temperature and the moisture content of the fruit. I like to check on them periodically.
Once the cherries have reached the desired level of dryness, I allow them to cool completely before storing them in an airtight container. Dried cherries make a fantastic snack on their own, or can be added to trail mixes, granola, and baked goods.
Enjoying the Fruits of Your Labor
Freezing and drying cherries might need some time and effort, but it’s totally worth it. Having a stash of these sweet, summery gems to enjoy throughout the year is a true delight. Whether you’re blending them into a smoothie, baking them into a pie, or snacking on them straight from the bag, you’ll be enjoying the benefits of this fruit.
I hope this guide has inspired you to take advantage of cherry season and preserve the bounty for the months ahead. Happy preserving!
Be a KYBS Insider
To learn more about keeping your brain sharp, be sure to check out my resource library and consider joining the Better Brain Masterclass. And don’t forget to connect with our supportive community on Facebook. Together, we can make the most of every brain-boosting opportunity—including cherry season!
If you’re ready to take your brain health to the next level, consider joining the KYBS Partners Club, a monthly membership program that provides exclusive access to resources, recipes, and personalized support from me. I’d love to have you on board!


